This was kind of a pain, because you have to stop after winding most of the spring into the winder, then fold the braking spring under so it gets pulled into the winder, and unlike a spring with a barrel end hook or T-end, you want to wind the whole thing into the barrel.
Next, I reassembled the autowind module.
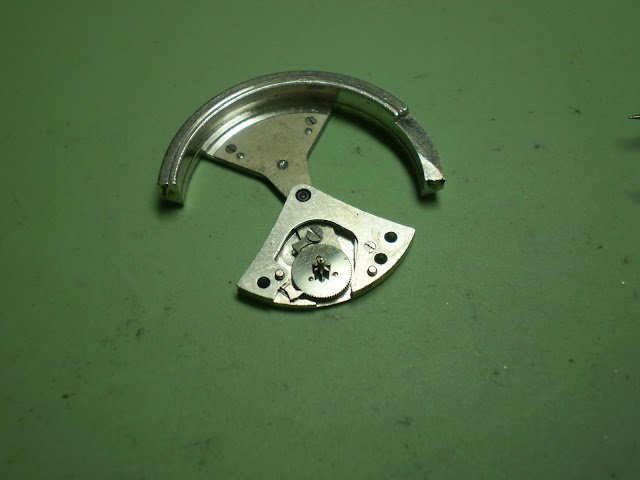
The trickiest part was remembering how this part went together. That lone screw holds the pawl spring at one end, and there's a groove in the winding sector that the spring fits into. The fingerprint on the bench block will give you some idea just how SMALL the parts are - the 3 screws holding the winding sector hub together are about the size of balance cap jewel screws.
Once that's put together, the ratchet pawl is added to the plate. (sorry about the focus)
Then the winding sector assembly is added.
Add the lower plate, and it's ready to go!
I won't show the assembly of the movement, which is really pretty straightforward, not to mention just like the disassembly only backwards. I was pleased to note that the balance took right off when installed. The next step is to add the bumpers. This is a fiddly step, since the bumper block doesn't have separate screws. The same screws that hold down the springs attach the bumper to the pillar plate. And of course, the springs try to turn as you tighten the screws down!
With the bumpers in place, you just add the autowind module and tighten two screws.
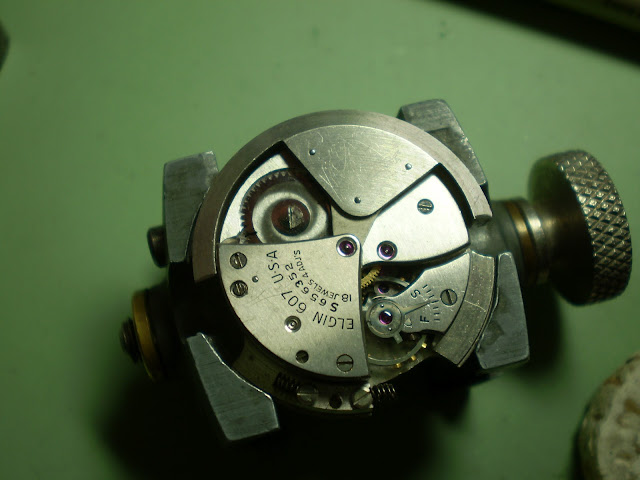
Note the little black mark on the ratchet wheel. I marked that so I could see if moving the winding weight worked to wind the watch. As you can see in this picture, where it's moved about 90 degrees, it does!!


I'm very impressed with your knowledge and dedication.
ReplyDeleteWow impressive. Just got one myself.
ReplyDelete