The first step is to release the power of the mainspring. If you fail to do this first, when you remove the pallet bridge, the sudden release of the power through the train may break a pallet jewel and/or fling the tiny thing across the room!
To release the power, you need to have the stem and crown installed. Turn the stem just enough to move the click out of the teeth of the ratchet wheel, and using fine tweezers or a pin, push and hold the click out of the way while allowing the the mainspring to unwind slowly, controlling the speed with your fingers on the crown.

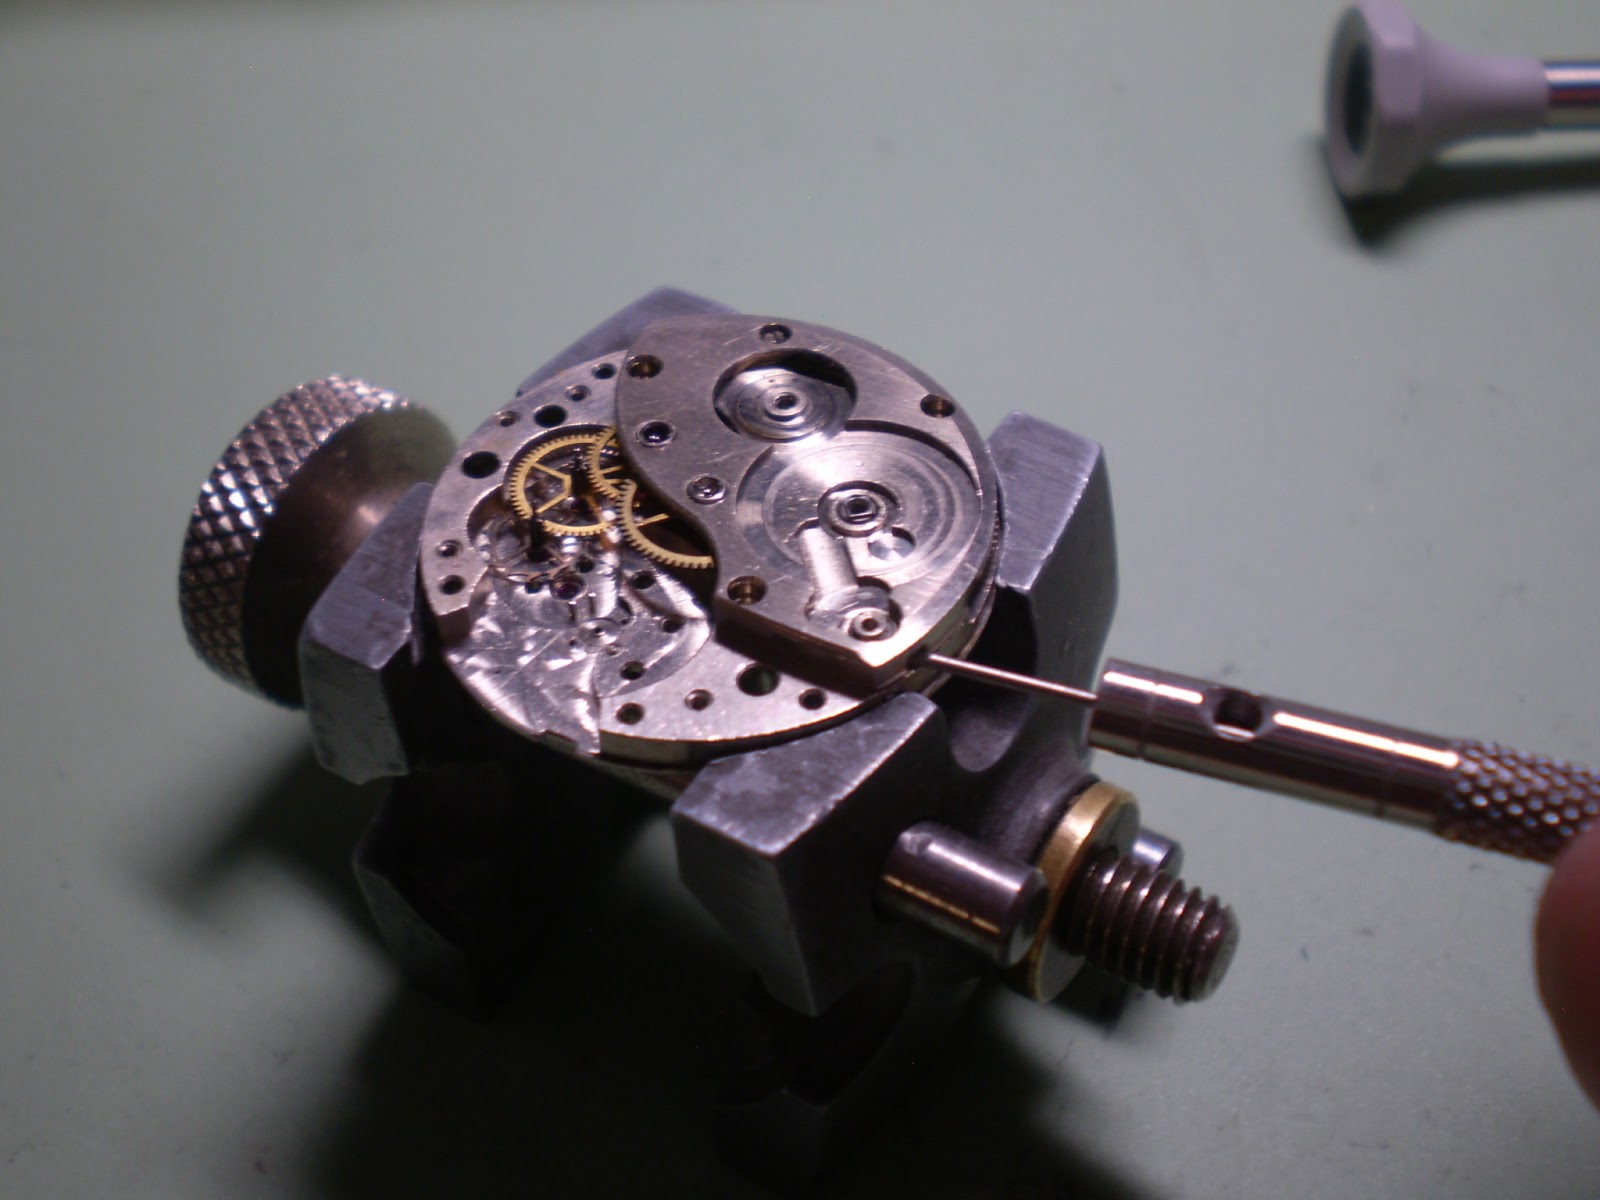
Once that's done, I remove the balance cock and balance. I start by loosening the hairspring stud screw and pushing the stud down out of the hole in the cock.


With that done, I unscrew the balance cock screw and carefully lift off the balance cock, leaving the balance in place. The hairspring stud should drop completely out of the hole, and the hairspring should fall out from between the regulator pins. Note that the 13/0 Elgins, and many Swiss movements have regulators which cage the hairspring. That is, they are not open at the bottom for the spring to fall out. In those cases, do not loosen the stud screw but rather remove the balance and cock together, and separate them afterwards.


Gently remove the balance, and check the pivots. In this case, they are beautifully intact.

The 642 uses Incabloc shockproofing, which uses a lyre-shaped spring to hold the set hole jewel and unset cap jewel. This page from an Elgin booklet from 1950 explains it well.

To remove the jewels, gently move each leg of the spring to release the tab. Then lift the spring, which hinges at the back, and remove the jewel. Generally before cleaning, they stick together. Once you're removed them, remember to put the spring tabs back in place to protect the spring!


Remember, there are TWO sets of jewels. Remove the set in the pillar plate at some point!
Next, remove the pallet bridge screw, pry up carefully on the bridge and remove it. Lift out the pallet, inspecting the jewels, pivots, fork and guard pin.


At this point, you can turn the crown a bit to put tension on the mainspring, and see how the train runs. Generally if everything is intact, but dirty, it will spin for a second or two and then stop abruptly while spinning forward. The friction of dried oils and other schmutz in the jewel holes will prevent the free running of the train. That's why we clean it!
The next step is to remove the winding/setting gear on the dial side. Flip the movement over, and remove the two screws holding the minute wheel clamp (also known as the yoke). Remove it, and then remove the minute wheel, setting wheel, clutch lever, and clutch lever spring. Be VERY CAREFUL with the clutch lever spring. It may try to escape!


Next, with the stem removed, take out the clutch and the bevel pinion. Finally, flip the movement over again, and unscrew the set lever screw, until you hear a tiny 'tick' of the setting lever falling out and hitting the work surface.


Now it's time to remove the ratchet wheel,the click, and the crown wheel. REMEMBER! The crown wheel screw unscrews CLOCKWISE!!!


Now unscrew the train bridge screws, and remove the train bridge.


Now do the same with the barrel bridge. Note that I forgot to remove the click spring (big J-shaped spring looping under the ratchet wheel) at an earlier point, so I took it out before removing the barrel bridge. Be careful with these, as they are even easier to lose than the clutch lever spring!


Now remove the train, the barrel, and the setting lever screw.

 .
.
The next step is to remove the mainspring from the barrel. I place the
barrel on my bench block with the square-cut part of the arbor down, and
thus the barrel cap up. I use 4 fingers on the barrel teeth to push
the barrel down. This pushes the arbor up, and lifts the barrel cap out
of the barrel. After removing the barrel cap, CAREFULLY remove the
barrel arbor - the mainspring may try to throw it across the room!


Now to remove the mainspring from the barrel. Holding the barrel between the thumb and forefinger of the right hand, use tweezers to pull out the first coil or two. Then, caging the uncoiling spring with your left hand, work the barrel back and forth between the finger and thumb, releasing half a coil each time, until finally the whole mainspring has come out. Keep a good grip on both the barrel and the spring, because there's a lot of force trying to escape!


Okay, now the diagnosis.
First, remember how the seller said it ran but needed to be wound every few hours? It turns out the T-end of the spring had broken off. After the mainspring came out of the barrel, it fell out onto the bench.
Without that to hold the end of the spring, it would wind up until the tension caused it to slip. That's why it would not store more than a few hours worth of power.

Something else I noticed soon after I looked at the movement. The upper center wheel arbor was NOT centered in the bushing. Check this shot...

Once I took it down, the problem was obvious - the center wheel bushing was worn out, so that the hole was now enlarged, and eccentric.

This happens with 15j watches, where there is no jewel for the center wheel. Over time, the hardened steel pivot, running in a softer bushing, will erode the bushing. Watchmakers have tools to replace the bushing. I don't. BUT I have a work around. Stay tuned!


